





Introduction
Replacing headlight bulbs is a common maintenance task that can save you time and money. Whether your headlights are dimming or burned out, knowing how to do it yourself ensures your vehicle stays safe and roadworthy. This guide provides step-by-step instructions to help you replace your headlight bulbs quickly and safely.
Tools and Materials Needed
- New headlight bulbs (check your vehicle’s manual for the correct type)
- Screwdriver (usually Phillips or flat-head)
- Gloves (preferably latex or nitrile)
- Clean cloth or microfiber towel
- Vehicle manual for specific instructions
Preparation
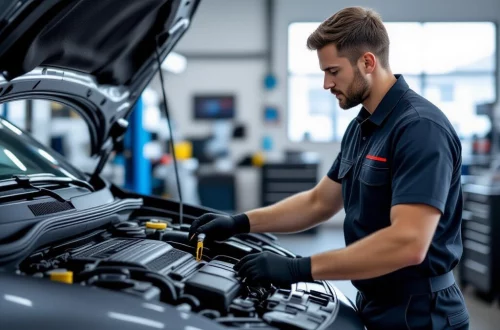
Before starting, ensure your vehicle is parked on a flat surface, with the engine turned off and cooled down. Engage the parking brake for safety. Open the hood and locate the headlight assembly. Consult your owner’s manual if you’re unsure where the headlight bulbs are situated.
Step-by-Step Replacement Process
1. Access the Headlight Assembly
Depending on your vehicle, you might need to remove a protective cover or housing to reach the bulb. Use a screwdriver if necessary, and keep track of all screws and parts.
2. Disconnect the Power Connector
Carefully disconnect the electrical connector from the back of the headlight bulb. Gently press or unlatch the connector, avoiding excessive force.
3. Remove the Old Bulb
Twist or unclip the bulb from its socket, depending on your vehicle’s design. Be cautious not to break the glass or damage the socket.
4. Handle the New Bulb Properly
Wear gloves or use a clean cloth when handling the new bulb to avoid transferring oils that could cause hot spots or reduce bulb lifespan. Insert the new bulb into the socket, ensuring it is securely in place.
5. Reconnect and Test
Reconnect the electrical connector, reassemble any covers or housing pieces, and turn on your vehicle to test the headlights. Make sure both high and low beams work correctly.
Additional Tips
- Always use the correct bulb type specified in your vehicle manual.
- Wear gloves to prevent oils from your skin from touching the glass, which could cause the bulb to overheat and fail prematurely.
- If the headlight doesn’t work after replacement, double-check connections and fuse status.
Conclusion
Replacing headlight bulbs yourself is a straightforward task that can improve your driving safety and reduce maintenance costs. With the right tools and careful handling, you can perform this repair quickly and confidently. Regularly check your headlights to ensure optimal visibility on the road.