Introduction to Installing a Car Lift Kit
Upgrading your vehicle with a lift kit can significantly improve off-road capabilities and give your car a more aggressive appearance. While professional installation is recommended for complex systems, many car enthusiasts with basic mechanical skills can successfully install a lift kit themselves. This guide provides detailed, step-by-step instructions to help you install a car lift kit safely and effectively.
Tools and Materials Needed
- Socket set and wrenches
- Jack and jack stands
- Spring compressors (if applicable)
- Torque wrench
- Hammer and punch
- Penetrating oil
- Lift kit components (spacers, blocks, shocks, etc.)
- Safety glasses and gloves
Preparation Before Installation
Before starting, ensure your vehicle is parked on a flat surface, the parking brake is engaged, and the engine is off. Gather all tools and parts. Read the lift kit instructions carefully, as installation procedures can vary depending on the vehicle model and lift kit type. Use penetrating oil on bolts to ease removal, and always wear safety gear.
Step-by-Step Installation Instructions
1. Lift the Vehicle
Use a jack to lift the front and rear of your vehicle, then secure it on jack stands. Ensure the vehicle is stable before proceeding.
2. Remove Wheels
Loosen and remove the wheels to access the suspension components.
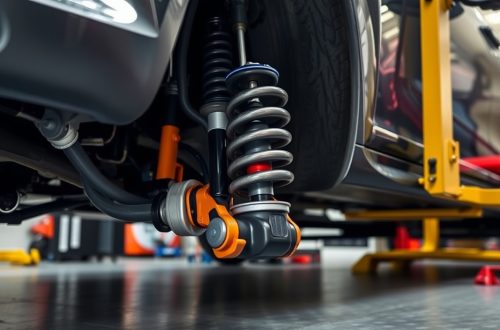
3. Detach Suspension Components
Carefully disconnect shocks, control arms, and other suspension parts as needed. Apply penetrating oil to stubborn bolts. Keep track of all hardware for reassembly.
4. Install Lift Blocks or Spacers
Position the lift blocks or spacers according to the manufacturer’s instructions. Use a spring compressor if necessary to safely handle coil springs.
5. Reassemble Suspension
Reattach shocks, control arms, and other components, tightening bolts to the specified torque settings. Double-check all connections for safety.
6. Install New Shocks (If Included)
If your lift kit includes new shocks, install them now, ensuring they are properly aligned and secured.
7. Reinstall Wheels and Lower Vehicle
Put the wheels back on, tighten lug nuts, then carefully lower the vehicle to the ground. Fully tighten lug nuts to the manufacturer’s torque specifications.
Final Checks and Safety Tips
After installation, double-check all bolts and nuts. Test drive the vehicle at low speeds to ensure everything functions correctly. Watch for unusual noises or handling issues. It’s recommended to have a professional alignment performed after installing a lift kit to ensure proper handling and tire wear.
Conclusion
Installing a car lift kit yourself can be a rewarding project that enhances your vehicle’s performance and appearance. Follow these steps carefully, prioritize safety, and consult your specific lift kit instructions for best results. If you’re unsure at any stage, seek professional assistance to ensure a safe and proper installation.