Introduction: Upgrade Your Car Audio with DIY Hacks
Installing a new car audio system can significantly enhance your driving experience. While professional installation is often recommended, many enthusiasts prefer to tackle the project themselves to save money and customize their setup. In this guide, we’ll share effective DIY hacks for seamless car audio installation, ensuring you get professional-quality results at home.
Preparation Is Key: Gather the Right Tools and Materials
Before starting, ensure you have all necessary tools and parts. Essential items include:
- Basic screwdrivers (Phillips and flat-head)
- Wire strippers and crimpers
- Soldering iron (optional but recommended)
- Panel removal tools
- Electrical tape and heat shrink tubing
- Car audio wiring kit
- New speakers and head units
Having everything prepared prevents interruptions and makes the process smoother.
Step-by-Step DIY Hacks for Car Audio Installation
1. Disconnect the Car Battery
Safety first! Disconnect the negative terminal of your car battery to prevent electrical shorts during installation.
2. Remove the Old Head Unit and Speakers
Use panel removal tools to carefully pry out the existing stereo and speakers. Keep track of screws and mounting brackets.
3. Prepare the Wiring
Identify the wires for power, ground, speakers, and antenna. Use wire strippers to remove insulation and prepare for connection. Tip: Label wires to avoid confusion.
4. Connect and Secure New Components
Follow the wiring diagram for your new head unit and speakers. Use crimp connectors or solder for secure connections. Wrap exposed wires with electrical tape or heat shrink tubing for protection.
5. Mount the New Head Unit
Insert the new stereo into the dash, ensuring it clicks into place securely. Reattach any mounting brackets or screws.
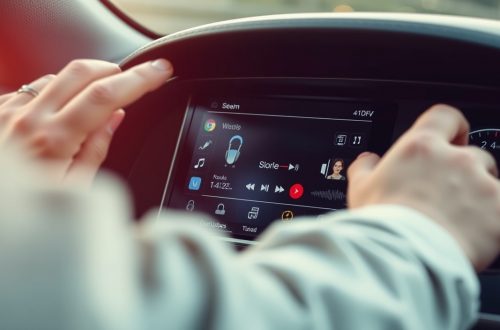
6. Test the System
Before reassembling everything, reconnect the battery and turn on the system to verify functionality. Check sound quality and all features.
7. Final Assembly
Reassemble panels carefully, ensuring no wires are pinched. Use panel removal tools to avoid damaging trim. Once everything is in place, enjoy your upgraded car audio system!
Additional Tips and Tricks
- Use quality wiring: Invest in good cables to ensure clear sound and durability.
- Soundproof your doors: Adding insulation reduces vibrations and improves audio quality.
- Consult online tutorials: Video guides can provide visual assistance for complex steps.
- Test incrementally: Check each connection as you go to troubleshoot issues early.
Conclusion: DIY Car Audio Installation Made Easy
With the right tools, preparation, and patience, installing your car audio system can be a rewarding DIY project. Remember to prioritize safety, follow wiring diagrams carefully, and take your time to achieve professional-quality results. Happy listening!